Automatically translated from Dutch by AI. Read the original
Taking building courses
Seven course days at Zelfbouw Cursussen in Helmond: started for fun, turned out to be spot on.
How did you get into this
Before the idea was even fully clear, I wanted to learn how to lay bricks. It can’t be that hard, but it might be nice to take some kind of basic course. I ended up at Zelfbouw Cursussen in Helmond and went along without any expectations.
Zelfbouw Cursussen
The course runs in groups of at most 8 people who pretty much all have projects in mind and want to do a course first. From renovations to a little garden wall. Besides a whole career in construction, the teacher (Henrie) had also taught for years in secondary education. He started his own business and now, by his own account, really enjoys teaching adults.
A course day starts with a nice cup of coffee and you explain why you’re there. Henrie listens attentively and asks questions. After that, each day alternates between a bit of theory and a bit of practice. On each course you make a piece of work that you can transfer one-to-one to your own project. Each piece of course on a smaller scale, and Henrie logically tries to reuse as much as possible from his previous courses. The great thing about the course is that Henrie automatically brings your own project into his explanations. As in, when explaining a soldier course he’ll pick up Henk’s garden wall project and zoom in on it a bit. All the courses are at Dutch vocational level 3 (MBO 3).
On the courses you meet all sorts of interesting people. I was in a group with a young guy who bought houses, did them up and sold them again. Another young guy who, after bricklaying courses 1 and 2, was going to do a whole renovation and, I think, had a career switch in mind as well. Henrie himself also had experience of people who got fed up with office work and made a career switch via his course.
Basic bricklaying course
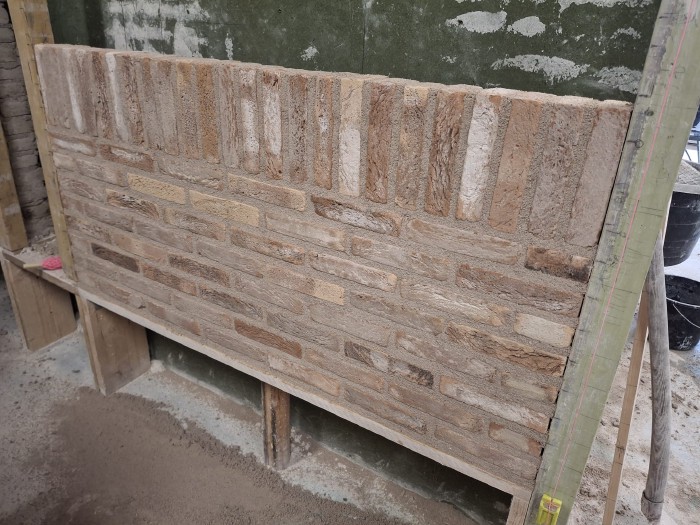
A 3-day course in which I got to lay a wall and point it. The theory was very manageable, but the practical information is something you don’t learn anywhere else. How do you judge whether your mortar/pointing compound is wet enough? When are you being too precise, when too sloppy? At the end you may know the same as what you’d see in YouTube videos, but all the random titbits that are oh so handy you’ll never find there. Apart from that, it lowers the threshold to get started enormously!
Basic building and carpentry course
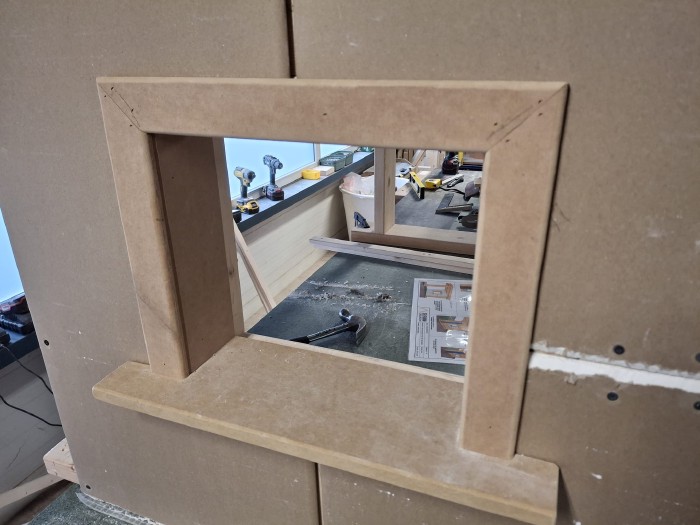
Another 3-day course in which we made a timber-frame wall with a window frame to scale. Here I ran a lot of the vapour-open/airtight theory past Henrie and, of course, picked up plenty of handy tricks again.
Batter boards, foundation and ground floor
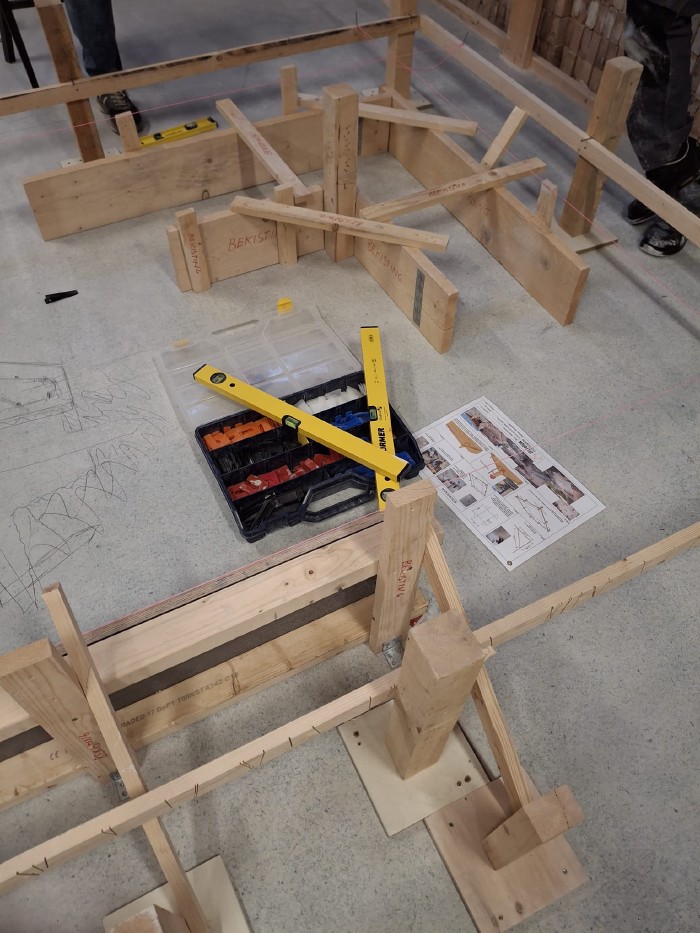
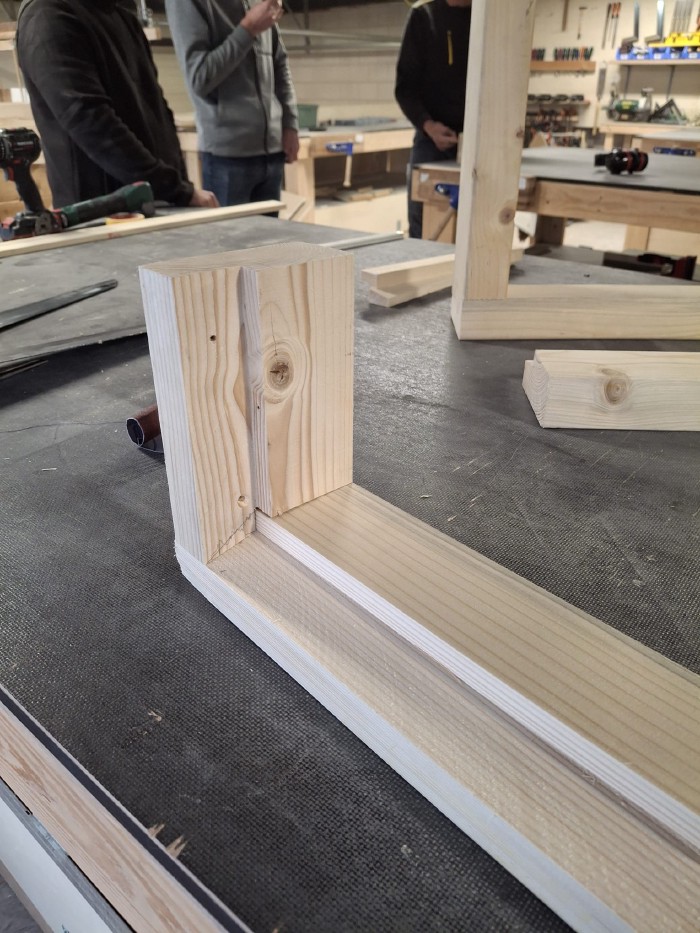
I booked this course because it was essential for my project. A foundation is essential for my project, so I wanted to know properly what I was getting into. How sturdy your formwork needs to be (the pressure is enormous) and which materials are best to use. Setting out the batter boards also teaches you to avoid many later mistakes.
Keep at it
People around me joked quite often about the fact that I was doing the courses.
- ‘So now you can do everything?’
- ‘He’s retraining as a carpenter, you know’
- ‘Oh come on, you don’t need a course for that’
Somehow you do feel a bit vulnerable. Until you’ve done a phase of your project, can use the valuable experience and can say that it was actually useful. Don’t wait too long and all the jokes will just wash over you.